WiFi Scanning for Newbies: Setting Up Your Epson 3850 for Wireless Freedom
Can You Scan To Laptop Using Ethernet Epson 3850
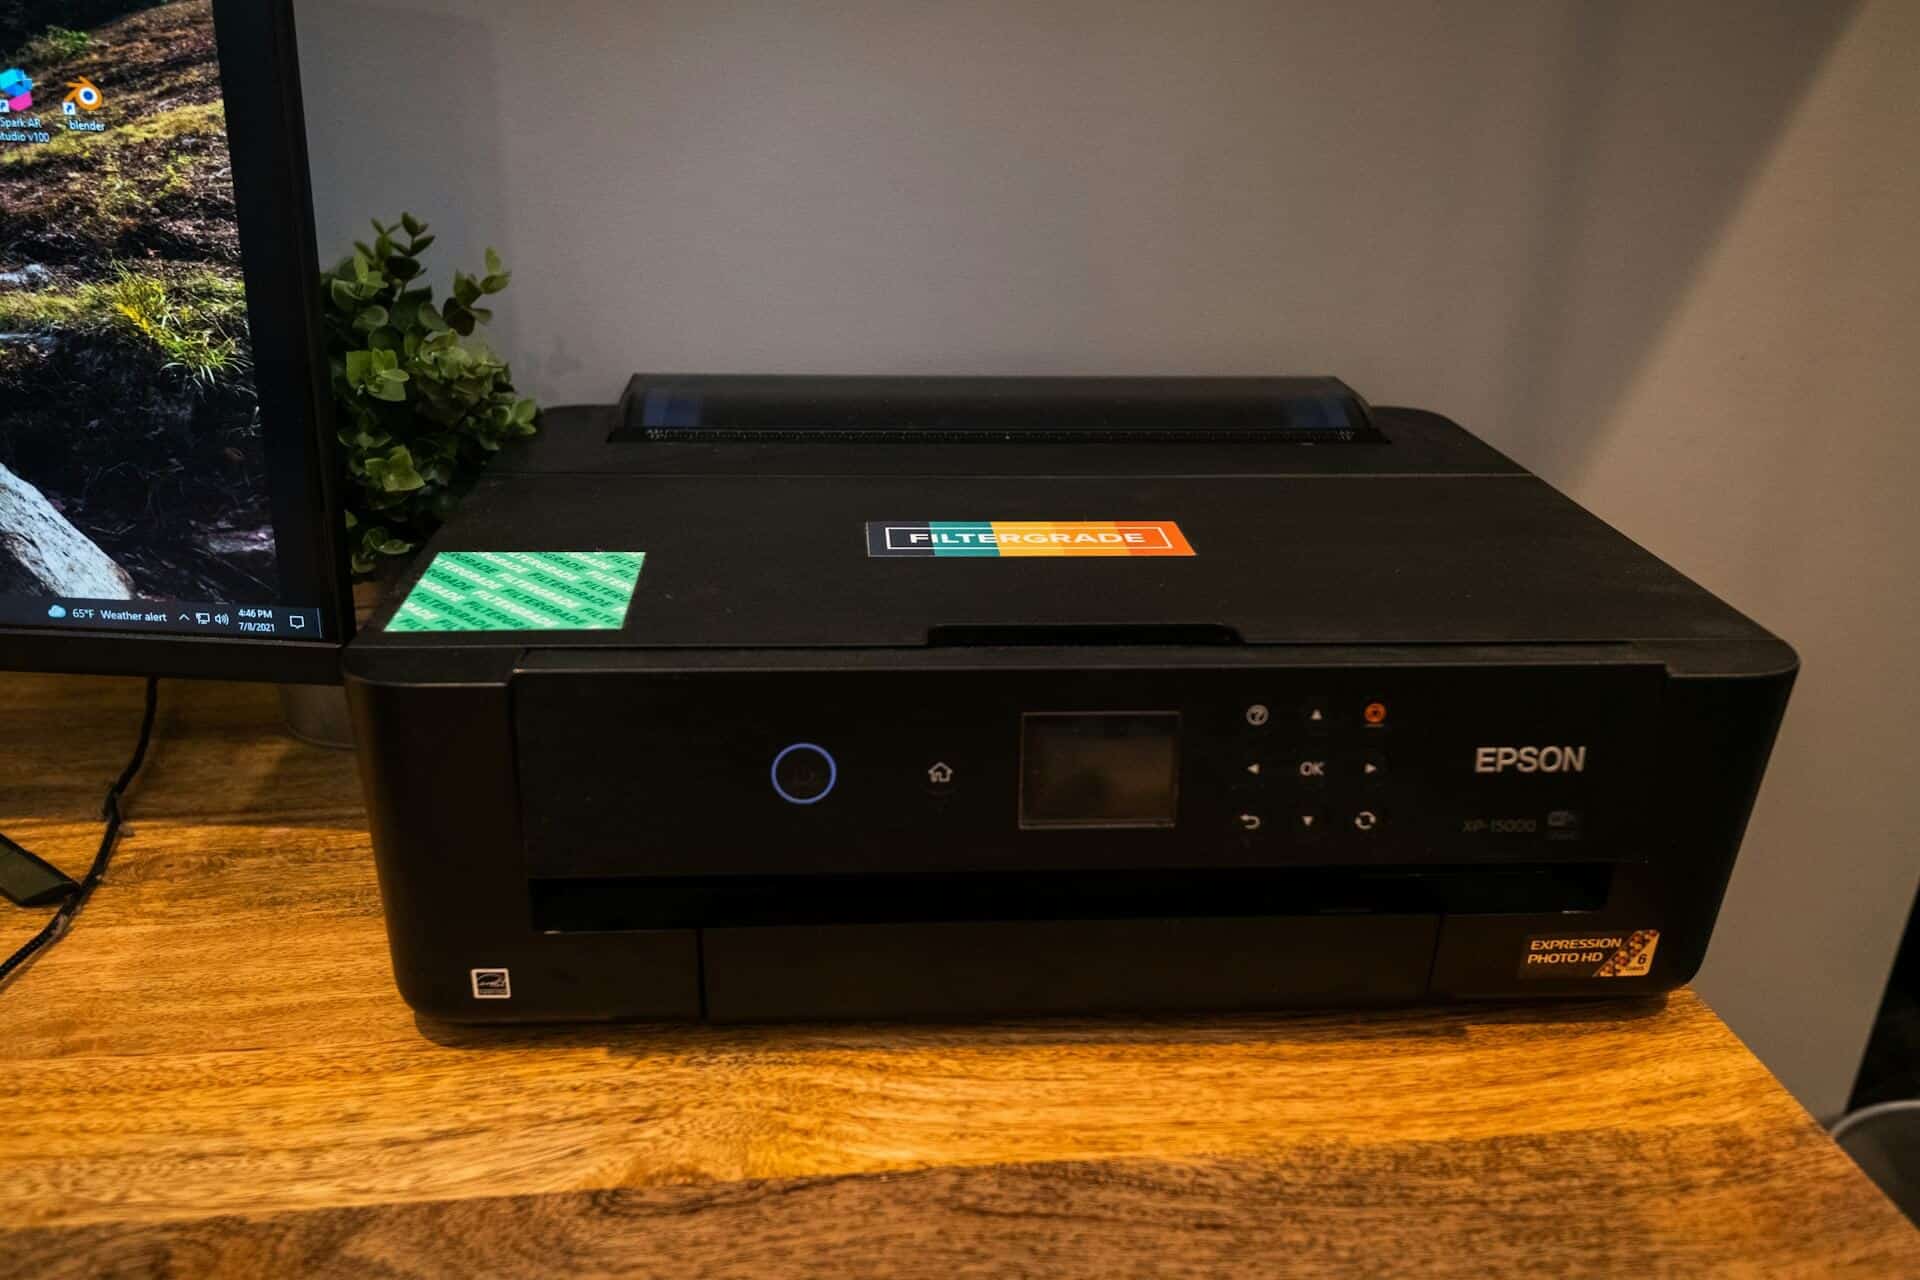
The Epson WorkForce Pro GT-3850 is a versatile document scanner designed for small offices and home users. One of its standout features is wireless connectivity, allowing you to scan documents directly to your laptop or computer over a WiFi network. This eliminates the need for a cumbersome wired connection, providing greater flexibility and convenience.
The 3850 boasts a built-in WiFi module, making it easy to connect to your existing wireless network. Once connected, you can initiate scans from the scanner’s control panel and send the digitized documents directly to your laptop or desktop computer. This wireless scanning capability streamlines your workflow, saving you time and effort compared to physically transferring files or using a USB cable.
In addition to wireless connectivity, the Epson 3850 offers robust scanning capabilities. It can handle a wide range of document types, including papers, photos, ID cards, and even bound materials like books or magazines. With its high optical resolution of up to 1200 dpi, the 3850 ensures sharp and detailed scans, capturing even the finest details.
The scanner’s automatic document feeder (ADF) can hold up to 40 pages, allowing for efficient batch scanning of multi-page documents. This feature is particularly useful for digitizing large volumes of paperwork, such as contracts, reports, or invoices.
By leveraging the 3850’s wireless scanning capabilities, you can enjoy a clutter-free workspace without the hassle of cables. Scan documents from virtually anywhere in your home or office, as long as you’re within range of your wireless network. This flexibility is especially beneficial for those who work in shared spaces or need to scan documents from different locations.
Step-by-Step Guide to Setting Up WiFi on the Epson 3850
To take advantage of wireless scanning on your Epson 3850, you’ll need to connect the printer to your WiFi network first. Here’s a step-by-step walkthrough of the process:
- Access the Settings Menu: On the control panel of your Epson 3850, tap the “Settings” icon to enter the main settings menu.
- Select Network Settings: Scroll through the menu options and choose “Network Settings”.
- Choose WiFi Setup: In the network settings, you should see an option for “WiFi Setup”. Select this to begin configuring the wireless connection.
- Select Your WiFi Network: The printer will search for available wireless networks in range. Scroll through the list and select the name (SSID) of your home or office WiFi network.
- Enter the WiFi Password: After selecting your network, you’ll be prompted to enter the WiFi password. Use the on-screen keyboard to carefully type in the password, then select “OK” to connect.
- Wait for Connection: The Epson 3850 will attempt to join your wireless network. This may take a minute or two. Once connected successfully, you’ll see a confirmation message on the control panel display.
- Print a Network Status Sheet: To verify the wireless settings and connection, you can print a network status sheet from the settings menu. This will show the network name, IP address, and other useful details.
With these steps completed, your Epson 3850 is now connected to your WiFi network, enabling wireless scanning functionality to your laptop or other devices on the same network.
Downloading Epson ScanSmart and Connecting It to the 3850 over WiFi
To scan wirelessly from the Epson 3850 to your laptop, you’ll need to download and install the Epson ScanSmart software. This application enables your computer to communicate with the scanner over your WiFi network.
First, visit the Epson support website and download the ScanSmart software for your operating system (Windows or macOS). Once downloaded, run the installer and follow the on-screen prompts to complete the installation.
After installation, launch the ScanSmart software on your laptop. You may be prompted to select your scanner model – choose the Epson 3850. The software will then search for available scanners on your wireless network.
If the 3850 is not automatically detected, you’ll need to manually add it. In the ScanSmart software, click the “Add Scanner” button and select the option to search for a network scanner. The software should locate the 3850 on your WiFi network – select it from the list and click “Connect.”
You may need to enter the scanner’s IP address or other network information to establish the connection. Consult your scanner’s control panel or documentation for these details if prompted.
Once connected successfully, the Epson 3850 should appear in the ScanSmart software’s scanner list. You’re now ready to configure scan settings and perform wireless scans to your laptop from the 3850.
Configuring Scan Settings and Scan-to Destinations in Epson ScanSmart
After connecting the Epson 3850 to your laptop over WiFi using the ScanSmart software, you’ll want to configure your desired scan settings and destinations. ScanSmart allows you to create multiple customized scan profiles for different scanning needs.
To create a new scan profile, launch ScanSmart and click the “Add Profile” button. Give the profile a descriptive name like “Documents” or “Photos.” Then, adjust the scan settings to your preferences:
- Resolution: Higher resolutions like 600 dpi produce better quality but larger file sizes. 300 dpi is sufficient for most document scans.
- Color Mode: Choose Color, Grayscale, or Black and White based on your needs.
- File Type: PDFs are ideal for document archiving, while JPGs or PNGs work well for photos and graphics.
- Automatic Adjustments: Enable auto exposure, text enhancement, and other image processing as desired.
Once you’ve dialed in the settings, choose where you’d like to save the scanned files on your laptop. ScanSmart lets you save directly to common folders like Documents, Pictures, or Desktop, or you can browse to a custom folder location.
For maximum convenience, you can also configure ScanSmart to automatically open scanned files in your preferred software like Adobe Acrobat or Microsoft Word. This streamlines your workflow by skipping the extra step of manually opening the files after scanning.
Don’t forget to click “Save Profile” to preserve your customized scan settings for easy reuse in the future. With a few profiles set up for different purposes, you’ll be able to scan wirelessly from the Epson 3850 to your laptop with just a couple of clicks.
Performing Test Scans from the 3850 to Your Laptop over WiFi
With the Epson 3850 and ScanSmart software properly configured, you’re now ready to perform your first wireless scan to your laptop. Here’s a step-by-step guide to help you through the process:
- Load Your Document: Place the document or photo you want to scan face-down on the scanner glass or in the Automatic Document Feeder (ADF) if scanning multiple pages.
- Launch ScanSmart: Open the Epson ScanSmart software on your laptop. It should automatically detect and connect to your Epson 3850 over the wireless network.
- Select Scan Settings: In ScanSmart, choose your desired scan settings such as color mode, resolution, and file type. You can also select the destination folder or application for your scanned files.
- Initiate the Scan: On the Epson 3850’s control panel, press the “Scan” button. The scanner will now wirelessly communicate with ScanSmart and begin scanning your document or photo.
- Monitor the Progress: You can watch the scan progress on both the 3850’s display and in the ScanSmart window on your laptop. Once the scan is complete, your scanned file(s) will appear in the designated destination.
- Review and Save: Take a moment to review the scanned image(s) in ScanSmart. If everything looks good, you can save the file(s) to your desired location on your laptop or cloud storage.
Congratulations! You’ve successfully performed a wireless scan from your Epson 3850 to your laptop using the ScanSmart software. Feel free to experiment with different settings and document types to get comfortable with the wireless scanning process.
Troubleshooting Tips for Connection Issues or Failed Scans
Even with a solid WiFi connection, you may occasionally run into issues when trying to scan wirelessly from your Epson 3850 to your laptop. Here are some troubleshooting tips to help resolve common problems:
Connectivity Drops
If your wireless connection keeps dropping during a scan, try the following:
- Restart your router and the 3850 scanner
- Move the scanner closer to your router for a stronger signal
- Check for interference from other wireless devices or microwaves
- Update your router’s firmware to the latest version
Scan Failures
If your scans are failing or getting stuck, you can try:
- Close and reopen the Epson ScanSmart software
- Disable any firewalls or antivirus software temporarily
- Uninstall and reinstall the Epson scanning software
- Check for updates to Epson ScanSmart or your scanner’s firmware
Image Quality Issues
Poor scan quality like blurriness or incorrect colors could be due to:
- Dirty scanner glass or mirrors (clean gently with a microfiber cloth)
- Incorrect resolution or color settings in the scan software
- Interference from nearby electronic devices
- Using incompatible or outdated scanning software
If the issue persists after trying these steps, you may need to contact Epson support for further assistance. But in many cases, these simple troubleshooting methods can quickly resolve wireless scanning problems with your Epson 3850.
Scanning to Cloud Services like Dropbox or Google Drive
One of the major advantages of wireless scanning with the Epson 3850 is the ability to scan documents directly to cloud storage services like Dropbox, Google Drive, and others. This eliminates the need to first scan to your laptop and then manually upload files, streamlining your workflow.
To set up cloud integrations, open the Epson ScanSmart software and navigate to the “Cloud Services” section. Here, you’ll see options to connect your Dropbox, Google Drive, and other cloud accounts. Follow the prompts to authorize ScanSmart to access your accounts.
Once connected, you can choose your preferred cloud destination when initiating a scan from the 3850. ScanSmart will automatically upload the scanned document or image to the specified cloud folder. This is incredibly convenient for backing up important paperwork, sharing files with others, or simply keeping your documents organized in the cloud.
Many cloud services also offer mobile apps, so you can access your scanned documents on the go from your smartphone or tablet. With the Epson 3850’s wireless capabilities combined with cloud integration, you can go paperless and maintain a fully digital document management system.
Creating Scan Shortcuts to Simplify Wireless Scanning
One of the biggest advantages of wireless scanning with the Epson 3850 is the ability to create custom scan shortcuts or presets. These allow you to configure all the scan settings just once, then quickly access that preset for future scanning tasks without having to re-adjust everything each time.
To create a new scan shortcut, open the Epson ScanSmart software and go to the “Scan Settings” section. Here you can adjust options like:
- Scan mode (e.g. color, black and white, etc.)
- Resolution (higher for graphics/photos, lower for documents)
- File type (PDF, JPEG, etc.)
- File name and destination folder
Once you have the settings configured how you want, click “Add Current Settings as Shortcut” and give the preset a descriptive name like “Photo Scans” or “Signed Documents.”
Your new shortcut will now appear in the left sidebar menu. Simply select it before initiating a scan, and ScanSmart will automatically use those preconfigured settings. This saves tons of time compared to adjusting the settings manually each scan.
You can create multiple shortcuts for different scanning needs – one for photos, one for text documents, one for double-sided scans, and so on. The shortcuts will sync across your WiFi network as well, so any computer connected to the 3850 can access and use them.
Tips for Improving Scan Quality and Speed
To get the best results when scanning wirelessly with your Epson 3850, it’s important to optimize your scan settings and follow some best practices. Here are some tips to improve scan quality and speed:
Adjust Scan Resolution: Higher resolutions produce better quality scans but also larger file sizes and slower scan times. Choose the appropriate resolution based on your needs – 300 dpi is generally suitable for most documents, while 600 dpi or higher is recommended for photos and graphics.
Enable Color Dropout: If you’re scanning text documents or forms, use the color dropout feature to remove specific colors like red or green. This can significantly improve readability and reduce file size.
Clean the Scanner Glass: Dust, smudges, or debris on the scanner glass can negatively impact scan quality. Regularly clean the glass with a soft, lint-free cloth and a small amount of glass cleaner.
Calibrate the Scanner: Over time, the scanner’s sensors can become misaligned, leading to distorted or discolored scans. Perform periodic calibration to ensure accurate color reproduction and alignment.
Use the Appropriate Scan Mode: The Epson 3850 offers different scan modes like Black & White, Color, or Grayscale. Choose the mode that best suits your needs – Black & White is faster for text documents, while Color is necessary for capturing photos or graphics.
Enable Background Removal: This feature can automatically detect and remove the background color from scanned documents, resulting in cleaner and sharper images.
Optimize Network Conditions: A stable and fast WiFi connection is crucial for smooth wireless scanning. Position your Epson 3850 closer to the router, minimize interference from other devices, and consider upgrading to a newer WiFi standard (e.g., 802.11ac) for better performance.
Use Scan Shortcuts: The Epson ScanSmart software allows you to create customized scan shortcuts with your preferred settings. This can save time and ensure consistent scan quality across multiple documents.
By following these tips and experimenting with different settings, you can achieve high-quality scans at faster speeds, making your wireless scanning experience with the Epson 3850 more efficient and productive.
Common Questions About Wireless Scanning on the Epson 3850
Wireless scanning with the Epson 3850 is a convenient feature, but users often have questions about its capabilities, limitations, and potential issues. Here are some common queries and their answers:
Does the Epson 3850 have built-in WiFi?
Yes, the Epson 3850 comes equipped with built-in WiFi connectivity, allowing you to wirelessly scan documents and photos to your laptop or other devices without the need for cables or a separate wireless adapter.
What operating systems and software support wireless scanning on the Epson 3850?
The Epson 3850 is compatible with Windows, macOS, and various mobile operating systems like iOS and Android. On Windows and macOS, you’ll use the Epson ScanSmart software to wirelessly scan from the 3850. Mobile devices can use the Epson iPrint app for wireless scanning.
How do I troubleshoot wireless scanning issues from my Epson 3850?
If you’re experiencing issues with wireless scanning, start by checking your WiFi connection and ensuring the 3850 is connected to the same network as your laptop or mobile device. You may also need to reinstall the Epson scanning software or update to the latest version. If problems persist, refer to the user manual for detailed troubleshooting steps.
Are there any security considerations with wireless scanning?
While wireless scanning is generally secure, it’s always a good practice to use a strong WiFi password and keep your network secure from unauthorized access. Additionally, be cautious when scanning sensitive documents wirelessly, as the data could potentially be intercepted if your network is compromised.
Can I scan directly to cloud services like Dropbox or Google Drive?
Yes, the Epson ScanSmart software allows you to configure scan-to destinations, including popular cloud storage services like Dropbox, Google Drive, and others. This way, you can wirelessly scan documents and have them automatically uploaded to your cloud storage for easy access and sharing.
Are there any limitations to wireless scanning on the Epson 3850?
While wireless scanning is convenient, it may be slower than a direct USB connection, depending on your WiFi network speed and the size of the scanned files. Additionally, some advanced scanning features or settings may only be available when using a wired connection.